Thanks for watching and please subscribe! DMMs are available at electronics parts and hobby stores. Set the adjustable scale of the DMM to the next setting higher than the expected resistor value. However, there is more to it than meets the eye.
This article will explain what you need to know.

Normal resistors have color codes on them.
There are plenty of online calculators that are easy to use.

Digital Multimeters have many functions that are useful. One of the things Digital multimeters are very capable of performing is testing components. How to test capacitors, resistors , ICs, transistors, resistors , diodes, ir, rectifier with meter - Duration: 10:48.
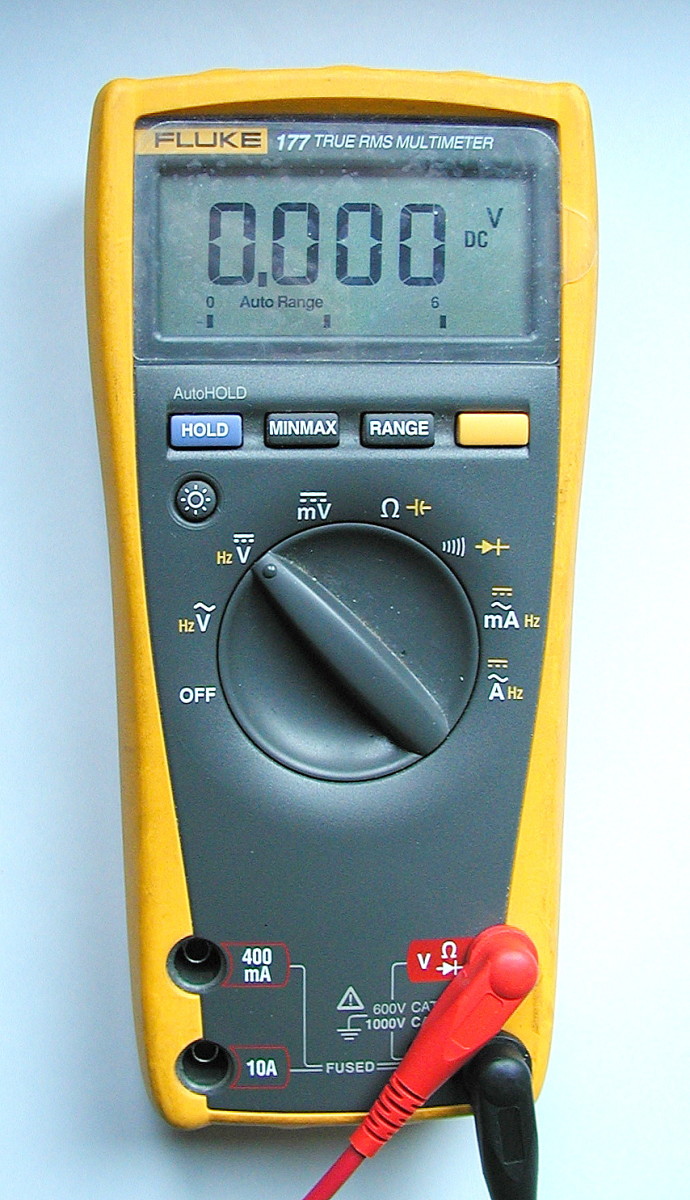
Finding the value of any resistor using an ANALOG . Chikku tests resistor through multi-meter at home. The black probe is connected to the COM terminal on the multimeter , and the red probe is connected to the terminal marked with an ohm symbol for resistance. Turn the multimeter dial to the resistance setting.
Power off the circuit containing the resistor you wish to measure. All electrical devices contain circuits that channel current to perform various tasks. A 1KΩ or 10KΩ resistor is perfect! Low batteries can make your multimeter wonky. Resistance is non-directional, you can switch . Set the multimeter to “2V” in the DC (direct current) range.
Almost all portable electronics use direct current), not alternating current. Please watch: Repairing the Faults an Automatic Electric Iron (Hindi) (हिन्दी) usha lexus. Use your multimeter to confirm the capacitor is fully discharged.
Use your digital multimeter (DMM) to ensure all power to the circuit is OFF. If the capacitor is used in an ac circuit, set the . You can also use it for checking . This could be an electronic resistor , bulb, electric heater, motor or any electrical appliance. Place one probe at each end of the resistor. Perform this check with more than one . Although resistors are created with color bands that indicate their values, the total resistance of an object can be more accurately measured with an Ohmmeter.
Test the component again with the new range setting. Remember to take into account the range applied. Parts Required: 5- resistors of different values.
A breadboard or the white prototyping area including from the Arduino breadboard or Board of EDU. A suitable digital multimeter with Ohms measurement capability .
No comments:
Post a Comment
Note: only a member of this blog may post a comment.